POST 1 TITLE: 1.1 - USE
VIDEO HARDWARE AND SOFTWARE TO CAPTURE SEQUENCES: INPUT DEVICES AND ASSOCIATED
SOFTWARE
Identify the Motorola G7, SD card, hardware/software that you will be using in order to record your short film.
For my film I will be using a motorola G7.
•720p resolution with a 6.2 inch screen.
•They have
built in microphones for recording sound. There is no external microphone port,
but it is possible to
manually adjust the audio level in the menu.
For my editing software i will be using Adobe Premier Pro April 2019 release ( 13.1 version)
POST 2 TITLE: 1.2/1.3
- USE VIDEO HARDWARE AND SOFTWARE TO CAPTURE SEQUENCES: USE INPUT DEVICES AND
VIDEO SOFTWARE, AND IDENTIFYING FILE FORMATS
Identify the file format you have used to record your footage
The G7 saves its video files in MP4 format, this is a common multimedia storage file created by apple, it is compatible with Macintosh and windows platforms. These type of files usually use MPEG-4 codec. The files contain many tracks that hold different types of fata and it is often used for saving movies and other video files.
POST 3 TITLE: 1.4. - STORE AND RETRIEVE SEQUENCES USING PRE-SET FILE FORMATS
How to upload your videos into the Mac and access your video files
To retrieve my files from my phone I sent them to my gmail and downloaded them on to the mac. I will drag the files on to the computer and open up Premier pro which will enable me to edit the files. When Premier pro open up I will select new project,

the next screen will ask you to select a
location – this is where your files will be stored, make sure they are stored on your student numbered file. You wont need to change anything else on the page then then click ok and a dashboard will pop up on your screen.

basic principles of how editing video into Premiere Pro works
When using Premier Pro and you want to import files you look on the bottom left hand side of your screen and you will see a empty rectangle box, this is where you load up, store all of the video and audio files you have created that you want to use. Right click the mouse, select import and go to where you stored your videos and select the video, then you will notice it appears in the folder, as below.

you should the select the video file you want to start with and drag it over to the folder on the right, you will then notice when you drag it over a the duration of the clip will pop up and above that there will be an image folder where you can watch your film.

On the right you will see a selections of letters V1/2/3
and A1/2/3. These are where you add your video and audio
tracks if you have selected a track it will be blue.
Editing
If you need to cut parts of your clips you must use the razor tool, you will find it with the other icons on the left hand side.

use the blue arrow on the time code to find the exact time to cut, once you have found where to cut select the razor, drag it to the bottom blue line then click. and it will create two separate clips, delete the one you don't want.

Applying transitions
When wanting to apply transitions right click your edit points and it will turn red and then press apply default transitions. the transition will notice the default transition is cross dissolve you can tight click that and alter the length of the duration.

POST 5 TITLE: 3.1/3.2/3.3/3.4 – IDENTIFYING APPROPRIATE PLAYBACK SOFTWARE AND DISPLAY DEVICE, AND ADJUSTING SETTINGS TO MEET NEEDS
VLC player.
The software i have chosen to play it back is VLC player. After I have edited my film together, I will export it in H.264 format. This format is a advanced video coding. It is currently one of the most used for recording recording,
compression, and distribution of video content.
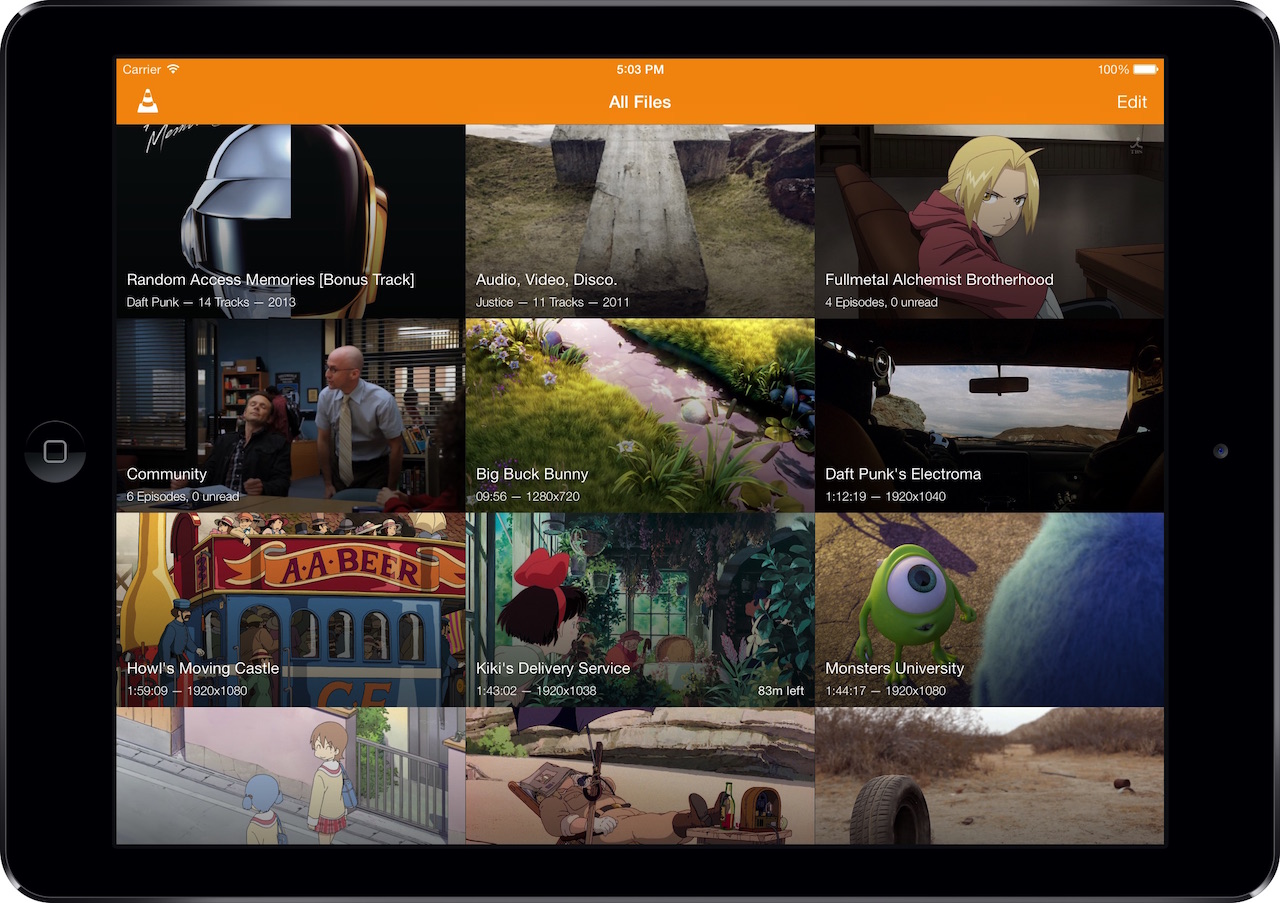
VLC player is able to play most codecs without any packs needed- MPEG-2. MPEG-4 H.264, MKV, WebM, WMV,MP3.
It also runs on all platforms such as, Windows, Linux, Mac OS X, Unix, IOS, Android.
It also runs on all platforms such as, Windows, Linux, Mac OS X, Unix, IOS, Android.
iMac and the Philips BDL6524ET monitor in order to playback your video
i will be using the combination of IMac and the Philips BDL6524ET monitor in order
to playback my videos.
specifications of the Philips BDL6524ET monitor:
- Brightness
- Contrast ratio (typical)
- Response time (typical)
- Aspect ratio
- Viewing angle (horizontal)
- Viewing angle (vertical)
- Display colours
- Pixel pitch
Cinema mode
There are five
main settings that get adjusted by changing the picture mode: Color
temperature, backlight, motion interpolation, gamma/contrast enhancers, and
edge enhancement. Each changes a
different aspect of the picture. I will be using cinema mode on the TV as it will make the images look very accurate, close to what i wanted them to look like.

